My first adventure in crock-pot candles (as inspired by Bonzai Aphrodite) was more of a learning experience than a success. I needed to get the wax a little hotter before I mixed in the colorant so mine ended up pooled on the top of the candle. It looks kinda cool but not the effect I was going for. Today I tried again. Much better. (The lack of strong pain meds might have helped too.)
These are going to be the candles that mark North, South, East and West on our circle when we do ritual. The colored candles Honey usually gets are tall and thin and only fit in those tiny holders. I'm always afraid they are going to tip over. I though something short and fat like a votive would be sturdier and since they are inside their holder already ... no wax drips!
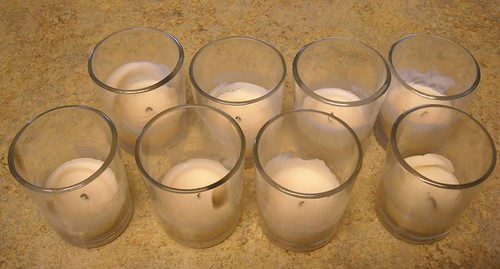
2) Fill the clean, dry containers with soy wax chips to the brim (it will melt down)
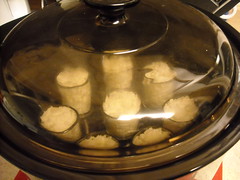
4) Turn the crock-pot on high. Check in 20 min. (It will probably take a while to get up to temp. Just keep checking every once in a while)
5) When the wax has melted, you will probably notice that your candles aren't quite as full as you would like. Take a spoonful at a time of the wax chips and add it to your containers until they are full again.
6) Wait for the new wax to fully melt.

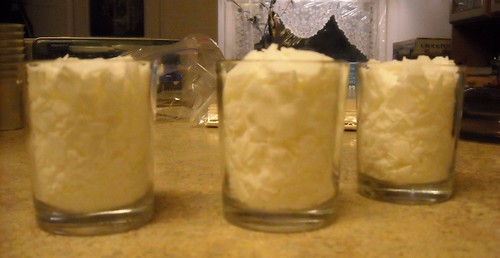
7) Once all your wax has been fully melted for a few minutes, you can add colorant. (I used the store bought cakes of candle color because I had them on hand but I've used crayons in the past with good results. Although I haven't tried them with soy wax yet) It's pretty hard to tell what your final color is going to be based on the melted candle so just use your best guess and remember soy candles tend to be creamy and lighter than you expect.

8) Stir the colorant. (I used different Popsicle sticks for each color).
9) Then leave the heat on and let the colorant truly melt in for about 10 min.
10) Stir the colorant again.
11) Turn off the crock-pot. (If you wanted scented candles this would be the point to add the scent. If it is the solid block type scent, make sure it melts completely into the candle)

12) Add the wicks and let the candles cool overnight in the crock-pot.
13) Trim the wicks.
14) Enjoy your pretty candles

13) Trim the wicks.
14) Enjoy your pretty candles

Wow these look great! I woulf give them a go but then I'd be spending money on something I don't reeealy need. Maybe I'll find an excuse sometime!
ReplyDeleteThanks! They work really well for making frugal birthday and holiday presents. Excuse supplied :)
ReplyDelete